VirtualBox Setup and Configuration
We covered the basics of VirtualBox in the previous post, Introduction to VirtualBox, and will go over installation and configuration here.
To start, lets go over basic terminology of Host OS and Guest OS. Basically Host OS is the operating system you are currently running on your machine. Guest OS(s) is the operating system that will run on your VirtualBox.
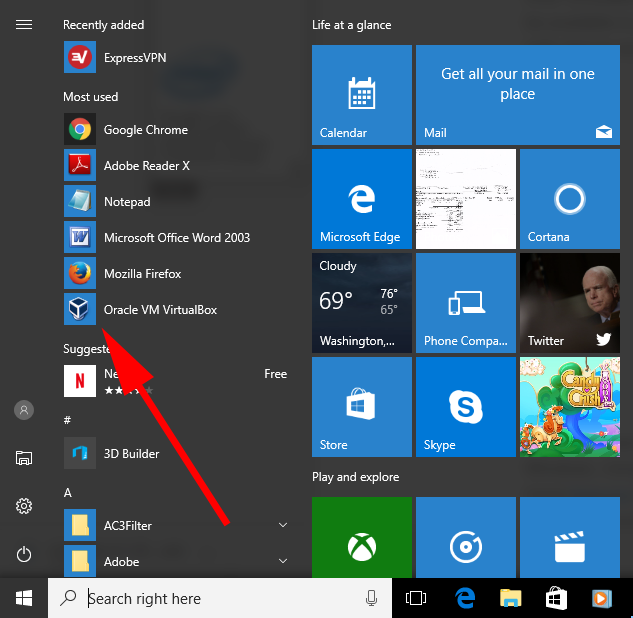
VirtualBox can be installed on most major operating systems. Head to VirtualBox download page, download and install the package for your operating system. Since we are on Windows, we simply download the Windows binary of the latest version and run through the installation steps. It is fairly simple, just go through all the steps and complete the installation. Restart your computer when done and go to start menu, it should have “Oracle VM VirtualBox” program as show below.

Run Oracle VM Virtual box. The window that gets opens is called “VirtualBox Manager”. Since we do not have any Virtual Machines with Guest Operating Systems yet, we should see a welcome message. However, you can see that it consists of two panels. The empty area of the left will later show you all the Virtual Machines you install, and the panel on the right that shows a welcome message will show all the information for the machine you select on the left.
Before we install an actual Virtual Machine, lets go over application-level settings. Go to File -> Preferences -> General. You can edit “Default Machine Folder” here to something more convenient, such as “C:\VirtualBoxVMs”.
Next, check if host-only network exists by going to “Host-only Networks” tab under “Network”. If not, click the first icon with a green plus sign on the right. This will create the host-only network that we will use when creating our new Virtual Machine.
This is it for installation and basic setup, we will go over installing the latest Ubuntu Virtual Machine in the next post. Stay tuned.


One thought on “VirtualBox Setup and Configuration”